Caché 2011 Installation
Intersystems has deprecated Caché 2011 and they are no longer maintaining it. We recommend to use Caché 2016 instead.
Prior to beginning installation, ensure you are current with Windows Updates and have .Net Framework versions 2.0, 3.0, and 3.5 installed.
You will find the Cache 2011 installer in the EPASS\Updates folder on the main server. There is a folder with 3 files; these 3 files need to be copied to the C:\Windows\SysWOW64 (for 64-bit systems) or the C:\Windows\System32 folder (for 32-bit systems).

Cache Install
First you will accept the License Agreement and select next.

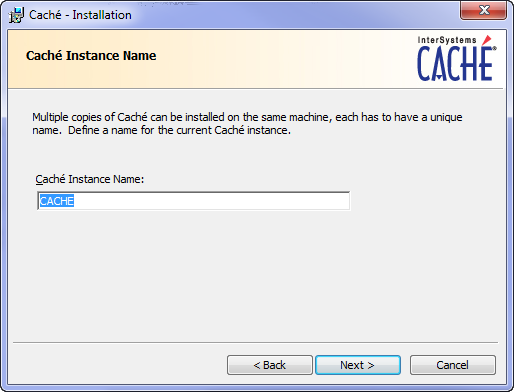
This instance is selected by default, and select next. Do not change this name unless you are using another instance, if in doubt, contact support.
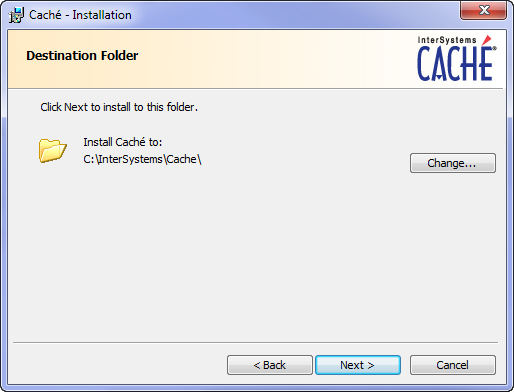
You may want to change the destination but this path is selected by default, and should be the correct path. Select next.
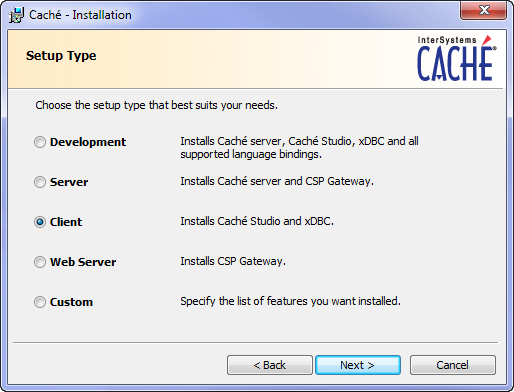
Next you will select the client option on this screen. Any other option on a client computer will be incorrect. Select next.
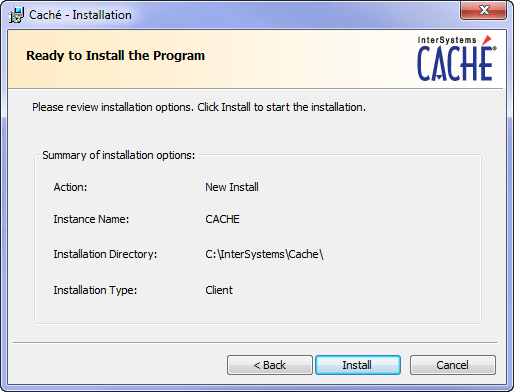
This is the last confirmation screen before the install takes place if all settings are correct then select install.
Once complete you can select the finish button and your installation is complete.
Now you can setup the ODBC connections.
February 24, 2026